COETZER OPTICALFIBER NETWORK SYSTEMS Technical Inquiry

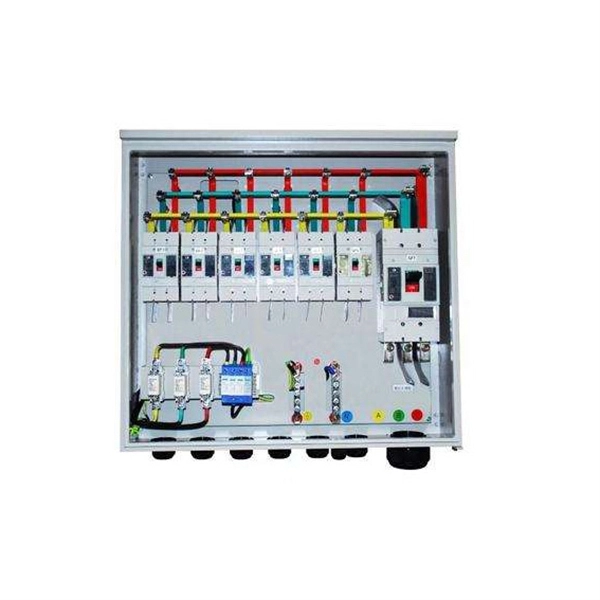
Add a crossbeam to the distribution box

Install the crossbeam by securing it to the distribution box using an adjusting frame, aligning it with guide plates, and fastening with screws and nuts to ensure proper support and positioning.Step-by-Step Installation

1. Prepare the Distribution Box

  • Ensure the distribution box is properly mounted in a dry, accessible location with adequate ventilation and at the correct height (typically ~1.5m) for safety and compliance .
  • Verify that the box is grounded and all wiring is de-energized before starting installation . 2. Assemble the Adjusting Frame
  • The adjusting frame consists of a fixed frame (base plate and support plate) and an adjustable plate (riser, upper and lower cross plates, and guide plate), .
  • Position the fixed frame inside the distribution box or on its mounting surface. The support plate should have a central guide housing, and the base plate should have a screw hole aligned with the guide housing . 3. Mount the Adjustable Plate
  • Insert the guide plate of the adjustable plate horizontally through the guide housing of the fixed frame .
  • Align the screw holes of the adjustable plate and the base plate, then insert a leading screw through both holes and secure it with a nut at the bottom .
  • This allows the adjustable plate to slide back and forth, providing precise positioning for the crossbeam and switch panel . 4. Attach the Crossbeam
  • The upper and lower cross plates of the adjustable plate have pre-drilled installing holes. Mount the crossbeam onto the lower cross plate using these holes .
  • Ensure the crossbeam is level and properly aligned with the distribution box and switch panel mounting points. 5. Secure the Electrical Switch Panel
  • Mount the switch panel onto the upper cross plate using the corresponding installing holes .
  • Verify that the panel aligns correctly with the crossbeam and that all switches fit into their designated slots without obstruction . 6. Final Adjustments and Safety Checks
  • Check that the crossbeam and switch panel are level and stable.
  • Tighten all screws and nuts securely to prevent movement.
  • Perform a visual inspection and, if possible, a multimeter test to ensure proper grounding and electrical safety before powering the system . By following these steps, the crossbeam will be securely installed in the distribution box, providing a stable support for electrical switches and ensuring safe, compliant operation .
Add a crossbeam to the distribution box

How to Install an Electrical Junction Box

If your house has visible wiring splices or if you need to add a new splice to extend a circuit, follow these simple steps

Technical note

This reference is intended for preliminary optical-network research. Compatibility, link budgets, installation methods, test limits and applicable standards must be verified for the specific project.

Still Have a Technical Question?

Use the inquiry form to describe a fiber link, component choice or testing question.

Start an Inquiry